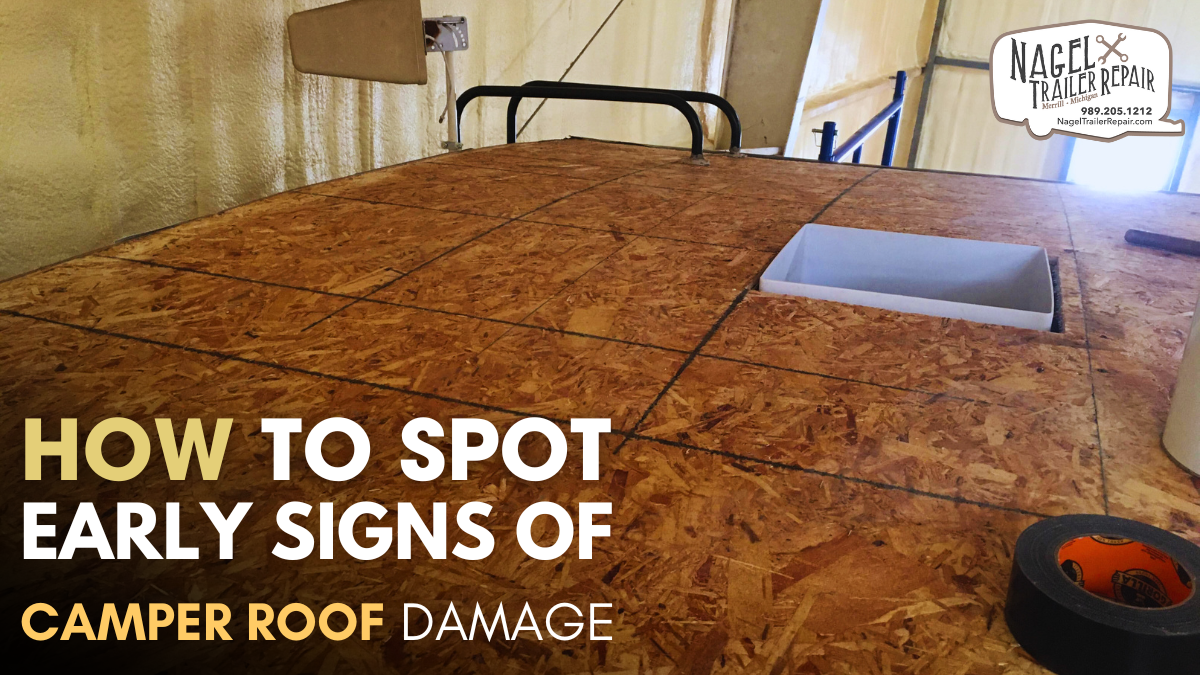
Your camper's roof is its first line of defense against the elements, providing protection from rain, sun, wind, and more. Over time, wear and tear can take a toll, leading to potential roof damage if left unchecked. Identifying signs of damage early is crucial to prevent costly repairs and maintain the integrity of your camper. In this guide, we'll discuss how to spot early signs of camper roof damage, empowering you to take proactive measures to keep your camper in top condition.
Understanding Common Types of Camper Roof Damage:
Before delving into the signs of damage, it's essential to understand the common types of issues that can affect camper roofs:
-
Leaks: Leaks are perhaps the most common and concerning type of roof damage. They can occur due to cracks, punctures, worn seals, or deteriorated roofing material.
-
Water Damage: Water infiltration can lead to rotting wood, mold, and mildew growth, compromising the structural integrity of your camper.
-
Tears and Punctures: Tears and punctures in the roofing material, such as rubber membranes or fiberglass, can result from impacts, sharp objects, or age-related deterioration.
-
UV Damage: Continuous exposure to the sun's UV rays can degrade roofing materials, causing them to become brittle, cracked, or discolored over time.
-
Poor Installation: Improper installation of roof components, such as vents, skylights, or air conditioners, can create weak points susceptible to leaks and damage.
Signs of Early Camper Roof Damage:
-
Visible Stains or Discoloration: Inspect the interior ceiling of your camper for water stains or discoloration, which may indicate a leak in the roof. Pay attention to any changes in color or texture, as even minor discoloration can signal underlying damage.
-
Bubbling or Blisters: Check the exterior surface of the roof for bubbling or blistering, which can indicate trapped moisture beneath the roofing material. These abnormalities may signal the presence of water damage or deteriorating sealant.
-
Cracked or Peeling Sealant: Examine the seams, edges, and around roof penetrations for signs of cracked or peeling sealant. Sealant serves as a protective barrier against water intrusion, so any damage to it can compromise the roof's integrity.
-
Loose or Missing Roofing Material: Look for loose or missing roofing material, such as shingles, rubber membranes, or fiberglass panels. Loose material can allow water to penetrate the roof, leading to further damage over time.
-
Sagging Roof: A sagging roof can indicate underlying structural issues or water damage within the roof assembly. Inspect the roof from both the interior and exterior for any signs of sagging or deformation.
-
Deterioration Around Roof Fixtures: Check the condition of roof fixtures, such as vents, antennas, or air conditioners, for signs of deterioration or water damage. Pay close attention to the areas where these fixtures are attached to the roof.
-
Visible Mold or Mildew: Mold and mildew thrive in damp environments, making them common indicators of water intrusion or excessive moisture in camper roofs. If you notice any mold or mildew growth, it's essential to address the underlying cause promptly.
-
Unusual Odors: Musty or damp odors inside the camper can suggest the presence of water damage or mold growth. Investigate the source of the odor to determine if it originates from the roof or other areas prone to moisture buildup.
Taking Action:
If you observe any early signs of camper roof damage, it's crucial to take prompt action to prevent further deterioration. Here are steps you can take:
-
Address Leaks Immediately: Identify and repair any leaks as soon as possible to prevent water damage from spreading. Clean the affected area, apply an appropriate sealant or patch, and ensure proper adhesion to the roofing material.
-
Inspect and Maintain Sealant: Regularly inspect the sealant around roof fixtures and seams, reapplying or replacing it as needed to maintain a watertight seal. Use a compatible sealant recommended by the manufacturer for optimal performance.
-
Perform Regular Roof Inspections: Schedule routine inspections of your camper's roof, ideally before and after each camping season, to identify potential issues early. Pay attention to areas prone to damage, such as seams, edges, and around fixtures.
-
Keep the Roof Clean: Remove debris, dirt, and tree sap from the roof surface regularly to prevent buildup and potential damage. Use a gentle cleanser and soft brush to avoid scratching or damaging the roofing material.
-
Invest in Preventive Measures: Consider investing in preventive measures, such as roof coatings or protective covers, to extend the lifespan of your camper's roof and reduce the risk of damage.
Conclusion:
In conclusion, being vigilant in spotting early signs of camper roof damage is paramount to safeguarding your investment and ensuring enjoyable outdoor adventures. Whether you're exploring the shores of Lake Michigan or traversing the forests of the Upper Peninsula, understanding the indicators of potential roof issues empowers you to take timely action.
By regularly inspecting your camper's roof for stains, discoloration, blistering, sealant cracks, and other telltale signs, you can catch problems before they escalate. Addressing these issues promptly can prevent costly repairs down the road and preserve the structural integrity of your camper. For campers in Michigan, where diverse landscapes and weather conditions abound, staying proactive with roof maintenance is especially crucial.
Whether you're embarking on a journey to Sleeping Bear Dunes or navigating the rugged terrain of the Porcupine Mountains, a well-maintained roof ensures peace of mind and protection against the elements. Remember, early detection is key, and if you suspect roof damage, don't hesitate to seek professional assistance for camper roof repair in Michigan.
With proper care and attention, you can continue to explore Michigan's natural wonders with confidence, knowing your camper roof is in optimal condition for your next adventure.

