
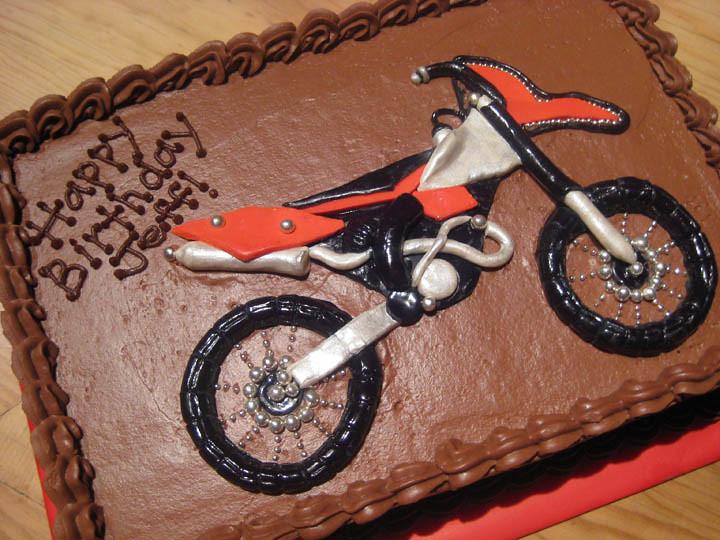
Imagine the thrill of the dirt bike track captured in an edible masterpiece. A dirt bike cake is perfect for birthdays, special celebrations, or for those who simply love the adrenaline of off-road adventures. In this guide, we'll take you through the process of crafting a dirt bike cake that not only looks spectacular but also tastes delicious. Let’s rev up our engines and dive into the details!
Materials Needed
- Two 9-inch round cakes (your favorite flavor)
- Buttercream frosting (at least 3 cups)
- Chocolate cookie crumbs (for dirt effect)
- Assorted candy rocks and chocolate pebbles
- Small toy dirt bike (for decoration)
- Green food coloring (for grass effect)
- Piping bags and tips
- Offset spatula
- Cake board
- Optional: Fondant for additional decorations
Step 1: Prepare Your Cakes
Start by baking two 9-inch round cakes. You can choose any flavor, but chocolate or vanilla works best. Once baked and completely cooled, level the tops of the cakes using a serrated knife to ensure they are flat. This will make stacking the cakes easier and ensure stability.
Step 2: Make Your Frosting
Prepare a batch of buttercream frosting. Divide the frosting into two portions: one larger portion will remain white, and the other will be tinted green using food coloring for the grass. Ensure the consistency of the frosting is smooth and spreadable.
Step 3: Assemble the Base
Place one cake layer on your cake board. Spread a generous layer of white buttercream on top, then place the second cake layer on top of the first. Apply a thin layer of frosting all over the cake to create a crumb coat. This layer will trap any loose crumbs and provide a smooth surface for the final layer of frosting. Chill the cake in the refrigerator for about 20 minutes to set the crumb coat.
Step 4: Create the Dirt and Grass
Once the crumb coat is set, apply a thicker layer of white buttercream all over the cake. Smooth it out with an offset spatula. Now, it’s time to create the dirt bike track. Use the back of a spoon to create a winding path on the surface of the cake. Fill this path with chocolate cookie crumbs to resemble dirt.
For the grassy areas, use a piping bag fitted with a grass tip and fill it with green-tinted buttercream. Pipe grass around the track and on the sides of the cake. You can add extra texture by varying the length of the grass blades.
Step 5: Add Details
Place candy rocks and chocolate pebbles along the dirt track to enhance the realistic effect. These edible rocks add texture and visual interest to your dirt bike scene. Optionally, you can add fondant decorations such as mini trees or a checkered flag.
Step 6: Position the Dirt Bike
Finally, place the small toy dirt bike on the dirt track. Position it dynamically, as if it’s mid-jump or rounding a curve, to give a sense of action and excitement. Ensure it is stable and won’t topple over.
Step 7: Final Touches
Take a step back and inspect your cake. Add any final touches, such as additional grass or rocks, to perfect the scene. If desired, you can use a bit of brown food coloring mixed with water to paint subtle tire tracks on the dirt path for extra realism.
Conclusion
Creating a dirt bike cake is a fun and rewarding project that brings a sense of adventure to your celebration. With careful planning and a bit of creativity, you can craft a cake that will be the highlight of any party. Follow these steps, and you’ll have a show-stopping dirt bike cake that’s sure to impress both kids and adults alike. Happy baking!