
Owning an RV camper is a wonderful way to experience the great outdoors while maintaining the comforts of home. However, the elements can take a toll on your RV, particularly the roof, which is constantly exposed to sun, rain, wind, and other environmental factors.
Properly sealing your RV camper roof is crucial to prevent leaks, water damage, and costly repairs. In this comprehensive tutorial, we will walk you through the step-by-step process of sealing your RV camper roof, ensuring a long-lasting and effective seal.
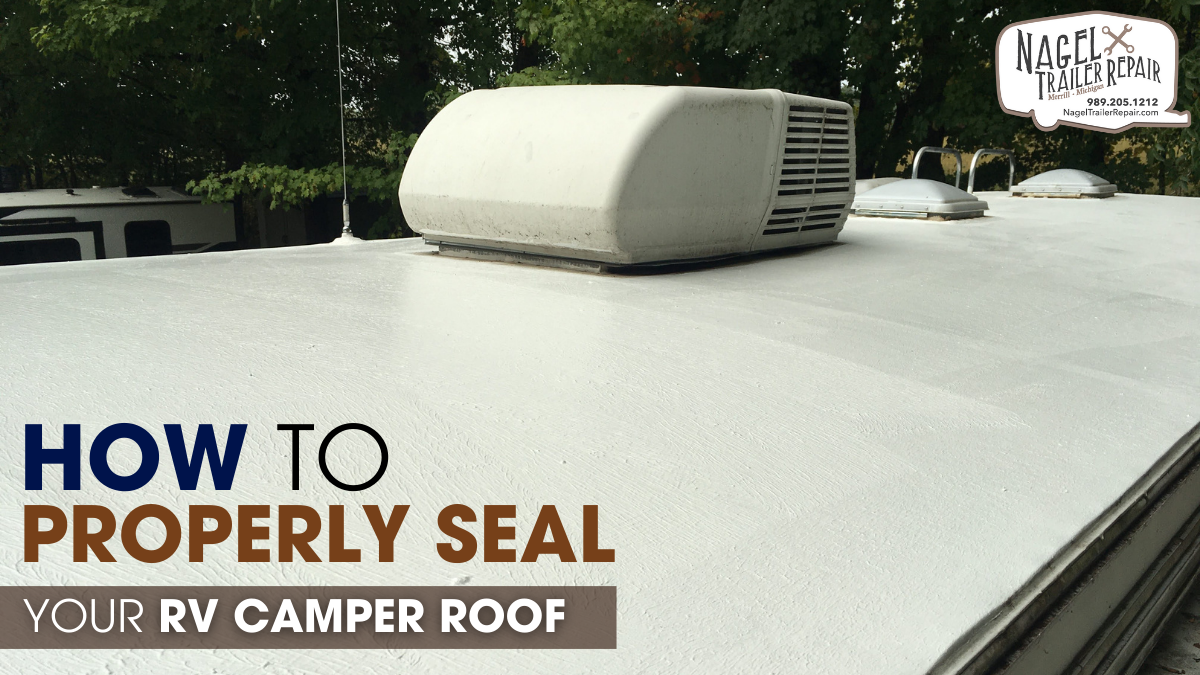
Introduction to RV Camper Roof Sealing:
Sealing your RV camper roof is an essential maintenance task that helps protect your investment and extends the lifespan of your vehicle. A well-sealed roof prevents water from seeping into the interior, which can lead to mold, mildew, and structural damage. Regular sealing also helps maintain the energy efficiency of your RV by preventing air leaks and reducing the workload on your heating and cooling systems.
Before diving into the sealing process, it’s important to understand the types of materials commonly used for RV roofs and the sealants that work best with them. Most RV roofs are made of rubber (EPDM or TPO), fiberglass, or aluminum. Each material has its own specific requirements for cleaning and sealing, so be sure to check your RV’s manual or consult with a professional if you’re unsure about your roof type.
Preparing for the Sealing Process:
Preparation is key to achieving a successful seal on your RV camper roof. Start by gathering all the necessary tools and materials. You will need a ladder, a roof-safe cleaner, a scrub brush, a hose, a putty knife, a caulking gun, and the appropriate sealant for your roof type. Additionally, make sure you have safety equipment such as gloves, safety glasses, and non-slip shoes.
The first step in the preparation process is to thoroughly clean the roof. Use a roof-safe cleaner and a scrub brush to remove dirt, debris, and old sealant. Pay special attention to areas around seams, vents, and other fixtures where leaks are most likely to occur. After scrubbing, rinse the roof thoroughly with a hose and allow it to dry completely before proceeding to the next step.
Inspecting the Roof for Damage:
Before applying new sealant, it’s crucial to inspect the roof for any signs of damage. Look for cracks, tears, punctures, or other imperfections that could compromise the seal. If you find any damage, repair it using a patch kit or appropriate repair materials for your roof type. Ensure that all repairs are fully cured and dry before moving on to the sealing process.
Choosing the Right Sealant:
Selecting the right sealant for your RV camper roof is essential for achieving a long-lasting and effective seal. There are various types of sealants available, each designed for specific roof materials. For rubber roofs (EPDM or TPO), use a compatible rubber roof sealant. For fiberglass and aluminum roofs, use a sealant specifically designed for those materials. Additionally, consider using a self-leveling sealant for horizontal surfaces and a non-sag sealant for vertical surfaces.
Applying the Sealant:
Now that your roof is clean, inspected, and prepared, it’s time to apply the sealant. Follow these steps for a successful application:
- Read the Manufacturer’s Instructions: Before starting, carefully read and follow the manufacturer’s instructions on the sealant packaging. This will ensure proper application and curing.
- Apply Masking Tape: Use masking tape to create clean, straight lines around the edges of the areas you’ll be sealing. This will help you achieve a professional-looking finish and prevent excess sealant from spreading.
- Load the Caulking Gun: Load the sealant into the caulking gun according to the manufacturer’s instructions. Cut the tip of the sealant tube at a 45-degree angle to control the flow of the sealant.
- Apply Sealant to Seams and Fixtures: Begin by applying sealant to the seams and around fixtures such as vents, skylights, and air conditioning units. Use a steady, even pressure to apply a continuous bead of sealant along the seams. For fixtures, create a complete seal around the base, ensuring no gaps are left.
- Smooth the Sealant: Use a putty knife or your finger (wearing a glove) to smooth out the sealant and ensure it adheres properly to the roof surface. This will also help eliminate air bubbles and ensure a watertight seal.
- Remove Masking Tape: Carefully remove the masking tape before the sealant begins to set. This will leave you with clean, sharp lines and a professional finish.
Allowing the Sealant to Cure:
After applying the sealant, it’s important to allow it to cure properly. Curing times vary depending on the type of sealant used and the environmental conditions. Typically, it takes anywhere from 24 to 48 hours for the sealant to fully cure. During this time, avoid exposing the roof to moisture, dust, or debris. Check the manufacturer’s instructions for specific curing times and conditions.
Performing a Final Inspection:
Once the sealant has cured, perform a final inspection to ensure that all seams and fixtures are properly sealed. Look for any areas where the sealant may have pulled away or failed to adhere. If necessary, apply additional sealant to any areas that require touch-ups. A thorough inspection at this stage will help prevent future leaks and ensure the longevity of your roof seal.
Regular Maintenance and Reapplication:
Sealing your RV camper roof is not a one-time task; it requires regular maintenance and periodic reapplication to ensure continued protection. Inspect your roof at least twice a year, preferably before and after the camping season, to check for signs of wear and tear. Clean the roof regularly to prevent dirt and debris from accumulating and compromising the sealant.
Reapply sealant as needed, especially if you notice any cracks, gaps, or other signs of deterioration. The frequency of reapplication will depend on factors such as the type of sealant used, the environmental conditions, and the age of your RV. Some sealants may need to be reapplied annually, while others can last several years.
Conclusion:
Properly sealing your RV camper roof is a vital part of RV maintenance that helps protect your vehicle from water damage and extends its lifespan. By following this comprehensive tutorial, you can achieve a long-lasting and effective seal that will keep your RV in top condition.
Remember to clean and inspect your roof regularly, choose the right sealant for your roof type, and perform routine maintenance to ensure continued protection. For those in Michigan, consider seeking professional assistance for Mobile RV Camper Roof Sealing in Michigan.
This service can provide expert sealing and maintenance, ensuring your roof is protected from the harsh elements unique to the region. With these steps and professional help, you can enjoy worry-free adventures in your RV, knowing that your roof is well-sealed and protected from the elements.
Embrace the peace of mind that comes with a properly sealed RV camper roof, and keep your vehicle ready for many more miles of exploration and enjoyment.