
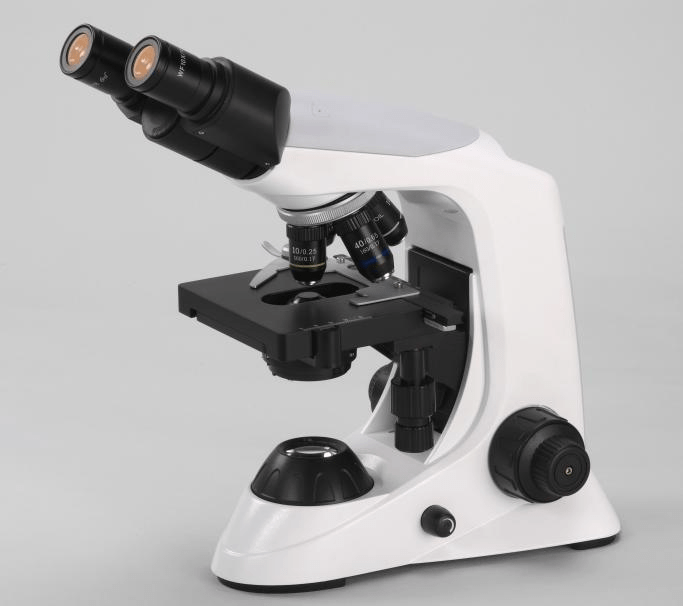
There are many different ways to prepare a slide for viewing under a biological microscope. Here is a general overview of the steps involved:
- Gather the necessary materials.
This will help to prevent us from having to stop the preparation process to get more materials. The materials we use to prepare the slide should be clean and free of contaminants. This will help to prevent the specimen from being contaminated. The specific materials you will need will vary depending on the type of specimen you are preparing. However, you will typically need a slide, a coverslip, a specimen, and a mounting medium.
- Get the specimen ready.
The type of specimen and the desired outcomes will determine how the specimen is prepared. Fixing, staining, and dissecting are a few typical preparation techniques for specimens. By eliminating debris, boosting contrast, and improving specimen stability, pretreatment can make the specimen easier to see.By keeping the specimen from drying out or decomposing, the preparation process also aids in its preservation.
- Place the specimen on the slide.
The specimen should be centered on the slide and should be evenly spread out. This will help to ensure that the image is in focus and that the specimen is not obscured by the coverslip. The slide provides a flat surface on which the specimen can be placed. This helps to keep the specimen in place and prevents it from moving around. The slide also helps to protect the specimen from damage. This is important because the specimen can be easily damaged, especially if it is thin or fragile.
- Add the coverslip.
To avoid trapping any air bubbles, the coverslip should be placed lightly on top of the specimen. The specimen may be harmed by air bubbles, which can also obscure the image. By giving the specimen a flat, smooth surface to lie on, the coverslip aids in maintaining the specimen's position. By doing this, the specimen can't move and won't sustain any injury. The coverslip additionally aids in shielding the specimen from harm. This is crucial because if the specimen is thin or weak, it may be easily damaged.
- Apply the mounting medium.
By putting a barrier between the specimen and the coverslip, the mounting medium aids in maintaining the specimen's position. By doing this, the specimen is protected from drying out and harm. The specimen is additionally shielded from harm by the mounting media. This is crucial because if the specimen is thin or weak, it may be easily damaged. Image resolution can be increased by using immersion oil, a liquid. The mounting medium enables the placement of the immersion oil between the specimen and the objective lens, enhancing the image's resolution.
The specific steps involved in preparing a slide for viewing under a biological microscope will vary depending on the type of specimen and the desired results. However, the general overview of the steps listed above should be helpful.