
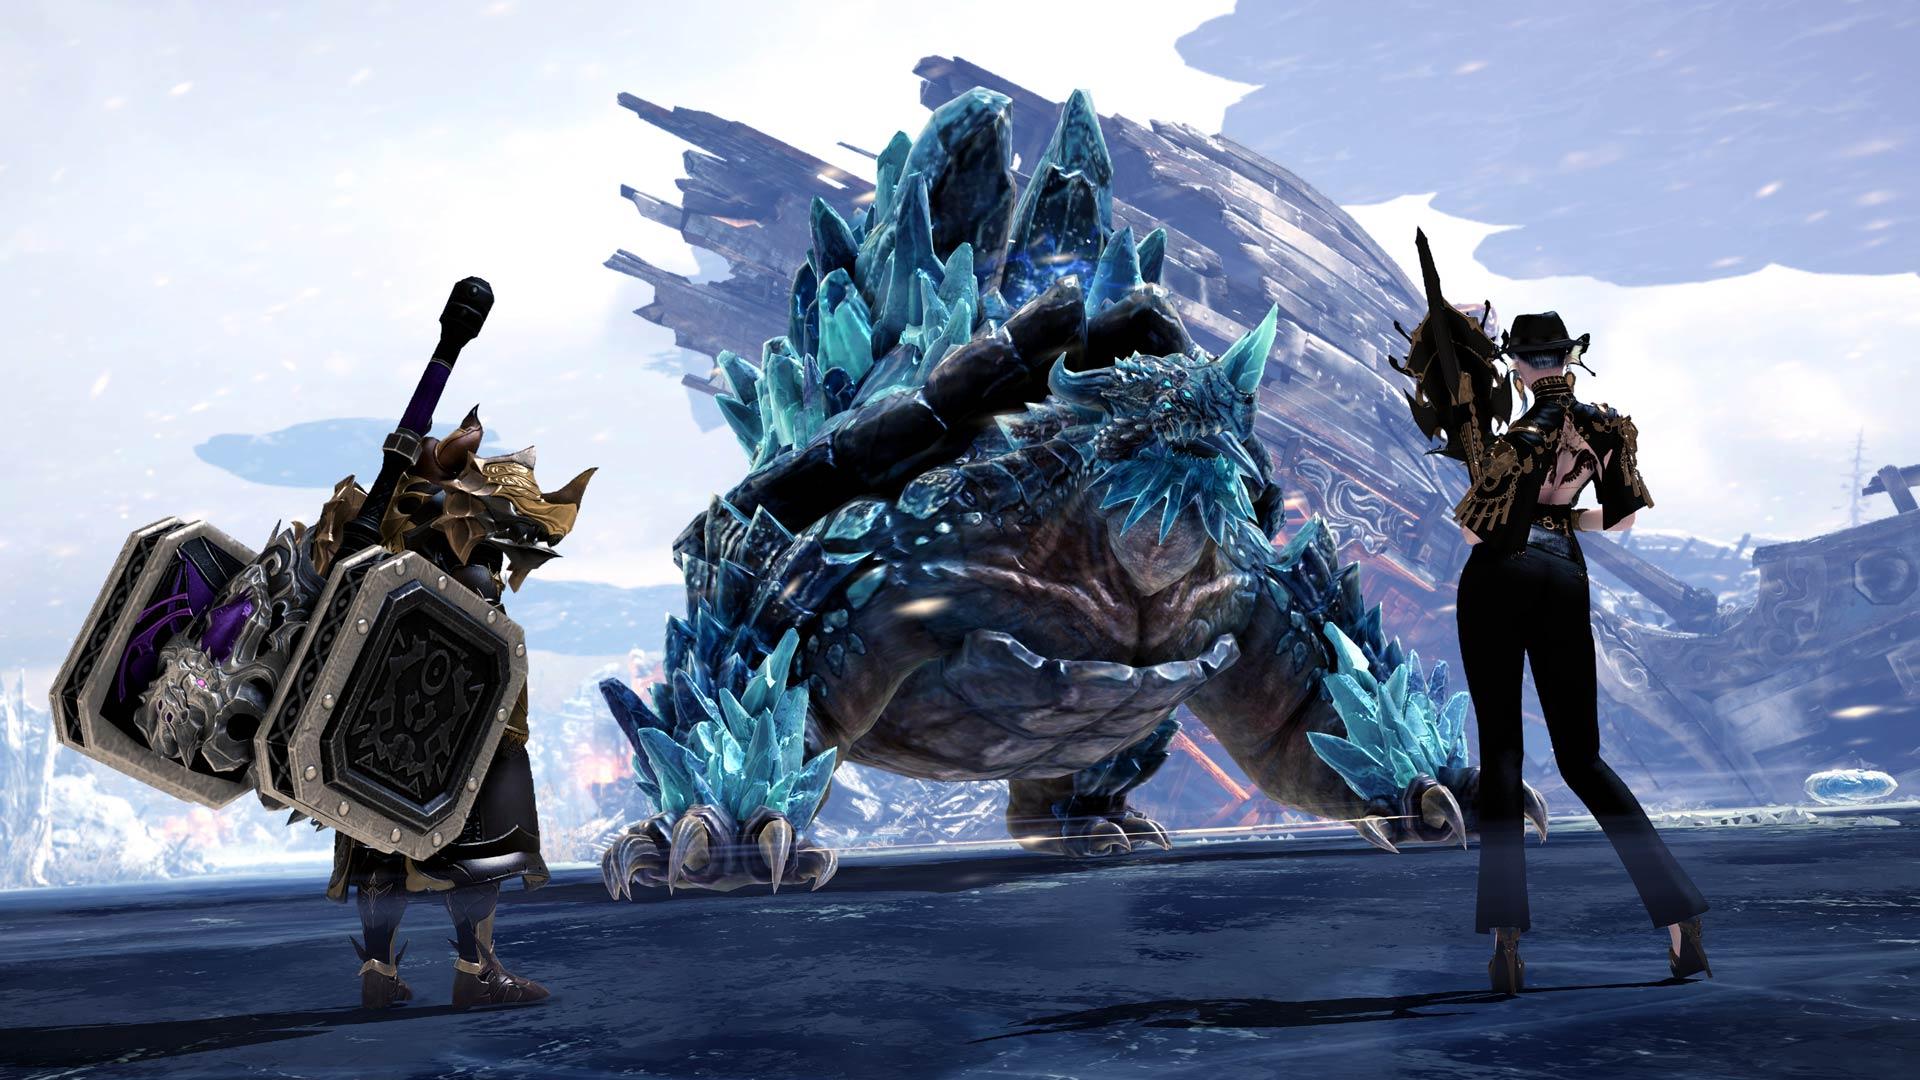
The steampunk continent in Lost Ark Gold Calvasus is called Arthertine, and it is crawling with monsters that you will need to eliminate.

There's definitely a steampunk vibe to the atmosphere on the Arthetine continent of Lost Ark.
-
You will not be able to complete your Arthetine Adventurer's Tome until you have located and defeated 15 unique monsters, so it is imperative that you get started on your quest as soon as humanly possible
-
If you read through the guide that is located below, you will obtain all of the information that you require, including the precise locations of the monsters that are found within the game
-
After entering this large area, you will need to immediately take a sharp turn to the right
-
After that, you will need to continue along the path that leads away from it in a direction that is to the northeast of it
-
As you make your way through the Outskirts, you should make it a point to stay on the path that takes you down the hill to the Research Camp that is situated in the immediate area
-
Because of this, you won't have to worry about any problems on the way to the camp
Locations of the Dangerous and Infectious Scorpions that are Produced by the Nebelhorn Monster
Your journey will begin at the Triport, which will be accessible once you have arrived at Nebelhorn's Lab. Continue traveling to the west after you have crossed the bridge until you reach an area that is infested with snakes and scorpions.
A taste of the cactus that is similar to the Wallou flavor.
After passing through the portal in the Scraplands and entering Nebelhorn, travel to the west through the initial confined space, and then continue traveling to the west across the bridge. This will bring the journey to a successful conclusion. The only way to reach the two spawn points for Sappy Wallou Cactus that are located on the opposite side of the bridge is to immediately make a turn in one of two directions after crossing the bridge: either right or left. Should you fail to carry out these steps, you will be unable to locate them. You can proceed forward once you have reached the bottom of the page by performing a U-turn to the left and then walking through the Twilight Hill neighborhood. You should now turn around and head in the opposite direction, which would be south, in the direction of the Scraplands. This will put you in the correct location. But don't let that fool you; it's not at all solitary, and as a result, you should brace yourself for a fight because of that fact.
Wanted Smuggler
It is highly recommended that you get started on your journey at the Oasis Triport in Nebelhorn. You will find a Smuggler Who Is Wanted hanging out in the area surrounding these structures with a large group of other people who engage in activities related to smuggling. Keep going past the Hoverboard Testing Site, and when you get to the next intersection, take a turn to the south so that you can begin traveling east from that location. This will get you to the next location. You can find this nook not too far from the point where the path first splits off into two separate directions. A warning signal will be activated if you approach this flying guard too closely because it is equipped with a sensor radius that surrounds it. If you are interested in finding out more, click here. Lost Ark Gold Tortoyk will become apparent to you that you have arrived at a fork in the road, with both of the possible routes leading in the same direction, namely to a dead end if you take the path to the northeast or to the northwest. You are not going to be able to reach your destination by traveling down either of these roads. You will be in a confined space that provides views in the direction of the Verdantier Observatory, which is located to the northeast of where you are currently standing. You will soon come under attack from scorpions as soon as you begin moving northeast while maintaining your position on the right side of the area. As soon as you begin moving to the northeast, this assault will get underway. It is possible that one of the Dark Red Claw Scorpions that attack you will be one of those that you need for your Adventurer's Tome, and it is also possible that you will be attacked by more than one of these scorpions. Following the path in the direction of the southeast until you reach the next area, at which point you will need to turn left onto the path that will take you to the northeast, if you are starting from this location, follow the path until you reach the next area.
At this point in time, you ought to have arrived at the enclosed space that operates as the entrance to the Red Sand Desert. You need to continue moving in the direction of the broken path until you reach the location where there are two broken pillars on either side of the path. This location can be thought of as being approximately in the middle of this area's overall range of latitude and longitude. Once you have arrived at this location, the Greedy Personal Guard Commander will be waiting for you in his tank once you have reached this destination. He will be awaiting your arrival with bated breath.
Mercenary swordsman who can be hired and has a well-deserved reputation for being particularly vicious. When you reach the end of the path, take the first path that leads to the east into the next small area. When you are ready to leave that area, cross the metal bridge that leads further south. After you have completed this step, you will find that you are once again at the beginning of the path.
It is possible to track down and vanquish the Bolchi Boss of the Totrich Monsters at the following locations:
Make sure that you are well prepared because getting to the Bolchi Boss is going to be a difficult endeavor no matter where you start out from, so don't waste any time getting started. When you reach the point on the island that is the most northerly point, you will notice a path leading in the direction of the east. Before reaching the Wilderness Area, it is necessary to travel in this direction first to the east, then to the south, and finally to the north. This is the only route that will take you there. If you are searching for the spawn location of the Bolchi Boss, which it is your responsibility to kill, you should look to the left of the western approach to this bridge. The location of this bridge is directly in the center of the map. You will be ambushed by a large number of monsters all at once as soon as you reach the corner of this area and head in the direction of the northeast. You are going to need a guard, and one of these monsters will have to do in order to fulfill that role. You should head in a southeasterly direction until you come to a junction, at which point you should turn left and continue walking until you come to a spot where some metal steps lead down. In other words, you should continue walking until you come to an area where some metal steps lead down. In other words, you should keep walking until you reach a location that has a set of metal stairs leading down to a lower level. Even though he has a chainsaw and a sword in his possession, it is extremely unlikely that he will put up much of a fight against you. Despite this, it is highly unlikely that he will put up much of a fight against you. Ignore the first two paths that are on your right and continue straight down the third one, which is the path that heads north and enters the area that is located the farthest to the north within this zone.