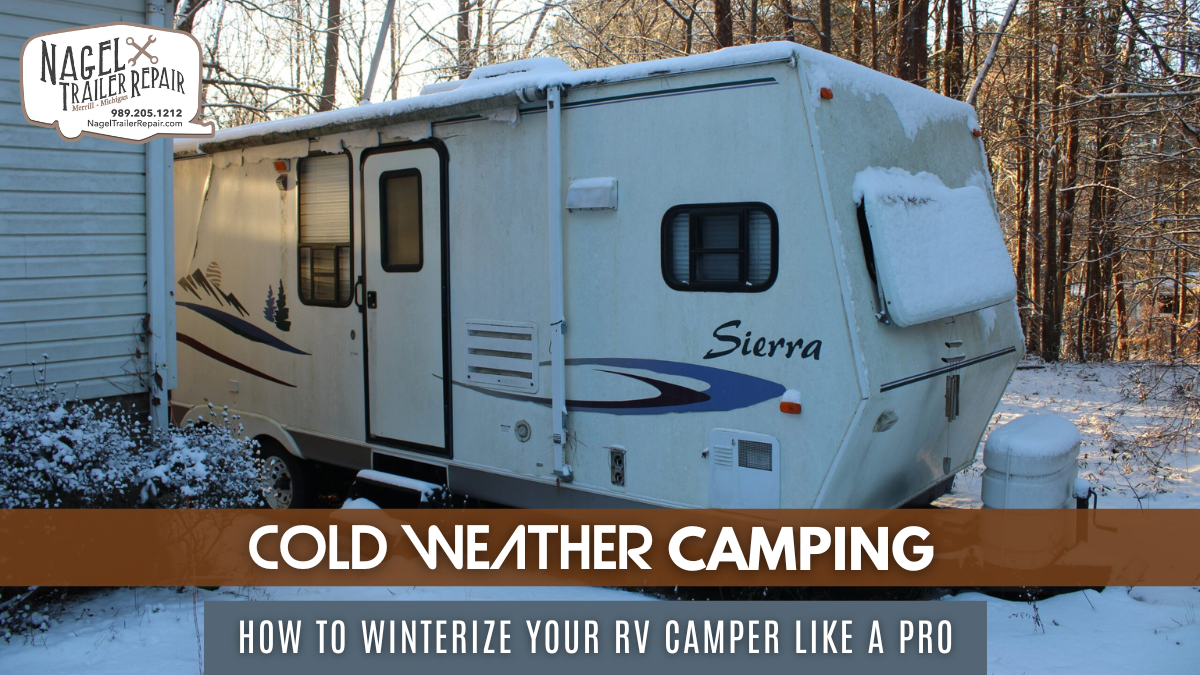
Winter brings a serene beauty to camping, but it also demands extra care and preparation, especially when it comes to your RV camper. With the right approach, you can ensure a cozy and safe experience even in freezing temperatures. Let's delve into the essential steps to winterize your RV camper like a seasoned pro.
Inspect Your RV
Before diving into winterization, start with a thorough inspection of your RV. Check for any existing leaks, cracks, or vulnerable spots that might worsen in cold weather. Ensure all seals around doors, windows, and vents are intact to prevent cold drafts and moisture intrusion.
Protect Your Plumbing
One of the most critical aspects of winterizing your RV is safeguarding the plumbing system against freezing. Start by draining all water tanks, including the fresh water, grey water, and black water tanks. After emptying these tanks, flush them with RV antifreeze to remove any residual water.
Next, ensure all water lines are completely drained. Open faucets and low points to allow any remaining water to escape. Use compressed air to blow out any water from the lines thoroughly.
Seal off external water sources and use an insulated hose or heat tape for your freshwater hose connection. Consider adding heat pads specifically designed for RV plumbing to prevent freezing.
Insulation is Key
Enhance the insulation of your RV to retain heat and keep the cold out. You can use insulating materials like foam boards, reflective insulation, or thermal curtains on windows to minimize heat loss. Consider adding draft stoppers around doors to prevent cold air from seeping in.
Insulate exposed pipes, particularly those running underneath the RV, with foam pipe insulation to protect them from freezing temperatures. For added warmth inside, invest in portable space heaters (making sure they’re safe for indoor use and won't overload your electrical system).
Keep the Furnace in Top Condition
Your RV's furnace is your best friend in cold weather. Ensure it's in optimal working condition by getting it serviced before your winter trip. Replace filters and clean the vents to ensure proper airflow and efficient heating. Consider carrying a backup propane tank to avoid running out of fuel during your camping trip.
Ventilation Matters
Proper ventilation is crucial, even in cold weather. While it may seem counterintuitive, allowing some airflow prevents moisture buildup inside your RV. Condensation can be a significant issue in winter, potentially leading to mold and mildew. Use vent covers that allow for ventilation while keeping out rain and snow.
Prepare for Emergencies
Winter weather can be unpredictable, so prepare for emergencies. Pack extra blankets, warm clothing, and sleeping bags rated for cold temperatures. Have an emergency kit with essentials like flashlights, batteries, non-perishable food, and a portable generator (if feasible) in case of power outages.
Final Checks Before Hitting the Road
Before embarking on your winter camping adventure, perform a final check to ensure everything is in place. Test all systems, including the furnace, generator, and propane tanks. Verify that your tires are properly inflated and in good condition for safe driving on potentially icy roads.
Conclusion
In conclusion, mastering RV camper winterization in Michigan is pivotal for a safe and enjoyable cold weather camping experience. By meticulously inspecting and fortifying your RV, focusing on plumbing protection, insulation, furnace maintenance, ventilation, and emergency preparedness, you can confidently navigate the challenges of winter camping. With these steps, you'll safeguard your RV against freezing temperatures and potential hazards, ensuring that every snowy adventure becomes a cherished memory filled with warmth and comfort amidst the wintry landscapes of Michigan.

