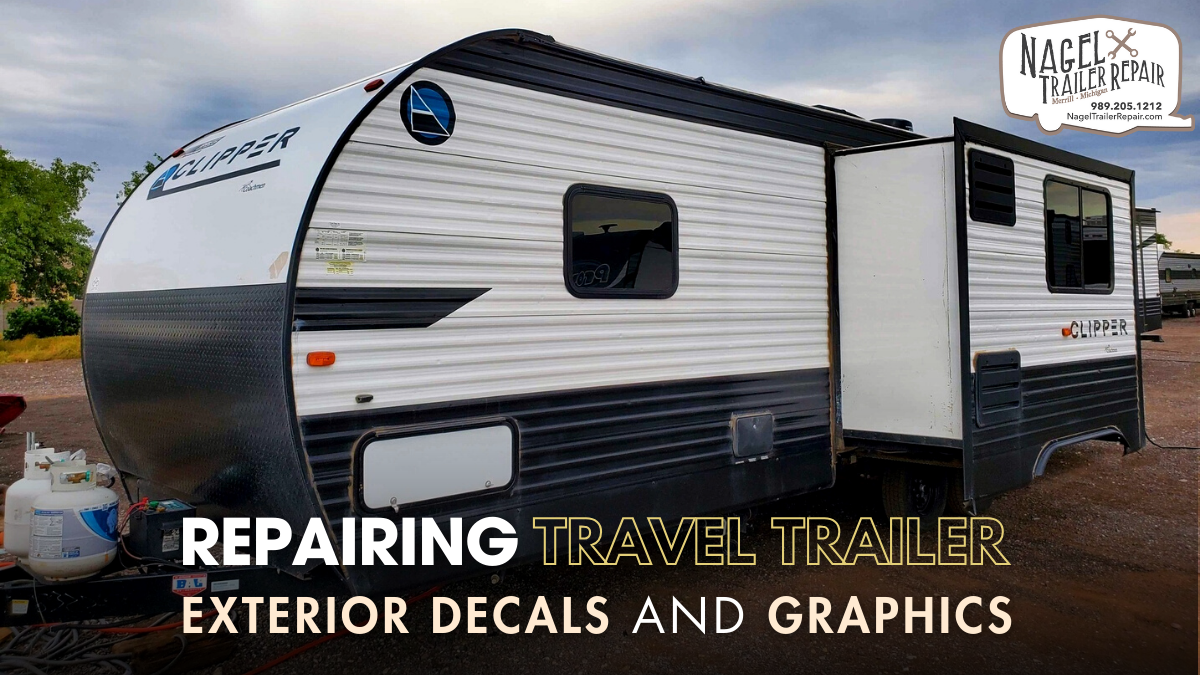
Travel trailers often come adorned with vibrant decals and graphics, adding personality and flair to their exterior. However, over time, these decals can fade, peel, or become damaged due to exposure to the elements. Fortunately, repairing and maintaining your travel trailer's exterior decals and graphics is a manageable task that can help restore its visual appeal and protect its resale value. In this guide, we'll explore step-by-step instructions on how to effectively repair and preserve the decals and graphics on your travel trailer.
Assessment:
Before diving into the repair process, it's crucial to assess the condition of your travel trailer's exterior decals and graphics. Inspect them carefully for any signs of fading, peeling, cracking, or damage. Take note of areas that require attention and make a list of materials you'll need for the repair.
Materials Needed:
- Mild detergent or soap
- Clean water
- Soft-bristled brush or sponge
- Isopropyl alcohol
- Microfiber cloth
- Hairdryer or heat gun (optional)
- Decal repair kit or replacement decals (if necessary)
Step-by-Step Repair Process:
1. Clean the Surface: Start by thoroughly cleaning the surface surrounding the damaged decals and graphics. Use a mild detergent or soap mixed with clean water to remove any dirt, grime, or residue. Gently scrub the area with a soft-bristled brush or sponge, then rinse with clean water and allow it to dry completely.
2. Remove Damaged Decals (If Necessary): If the decals or graphics are severely damaged or beyond repair, you may need to remove them entirely. Use a hairdryer or heat gun to apply heat to the decal, which will soften the adhesive and make it easier to peel off. Slowly and carefully peel away the damaged decals, taking care not to damage the underlying surface.
3. Clean the Surface Again: After removing the damaged decals, clean the surface once more to ensure it's free of any leftover adhesive residue or debris. Use isopropyl alcohol and a microfiber cloth to wipe down the area thoroughly, removing any remaining residue and preparing the surface for the repair.
4. Repair Small Tears or Cracks: For minor tears or cracks in the decals or graphics, you can use a decal repair kit to patch the damaged areas. Follow the instructions provided with the repair kit, which typically involves applying a specialized adhesive or patch over the damaged area and allowing it to dry completely.
5. Replace Damaged Decals (If Necessary): If the decals or graphics are too damaged to repair, or if you simply want to update the appearance of your travel trailer, consider replacing them with new decals. You can purchase replacement decals from your trailer manufacturer or specialized retailers. Follow the manufacturer's instructions for proper installation, ensuring the surface is clean and dry before applying the new decals.
6. Protect and Preserve: Once the repair or replacement process is complete, it's essential to protect and preserve the newly repaired decals and graphics. Apply a clear coat of protective sealant over the decals to provide an extra layer of protection against UV rays, moisture, and other environmental factors. This will help prolong the life of the decals and keep them looking vibrant for years to come.
7. Regular Maintenance: To ensure the longevity of your travel trailer's exterior decals and graphics, incorporate regular maintenance into your routine. Wash the exterior of your trailer regularly with mild detergent and water to remove dirt and debris, and avoid using abrasive cleaners or tools that could damage the decals. Inspect the decals periodically for any signs of wear or damage, and address any issues promptly to prevent further deterioration.
Conclusion:
In conclusion, maintaining and repairing the exterior decals and graphics of your travel trailer is crucial for preserving its appearance and protecting its value. By following the steps outlined in this guide, you can effectively address minor damage, replace worn-out decals, and ensure that your trailer maintains its visual appeal for years to come.
Whether you're tackling small tears and cracks with a repair kit or opting for a full replacement of damaged decals, taking proactive steps to care for your trailer's exterior will pay off in the long run. Remember to regularly inspect and clean the decals, apply protective sealant, and address any issues promptly to prevent further deterioration.
With proper maintenance and attention to detail, you can keep your travel trailer looking its best for all your adventures on the road. And if you're in Michigan and in need of professional assistance with travel trailer repairs, don't hesitate to reach out to trusted local experts specializing in Travel Trailer Repair in Michigan.
They can provide the expertise and support you need to keep your trailer in top condition, ensuring that you can continue to enjoy your travels with confidence and peace of mind.

